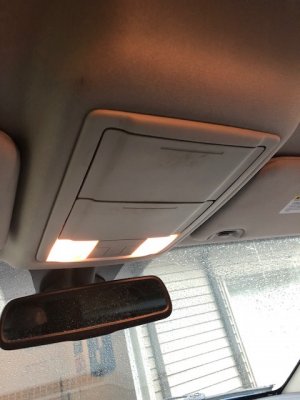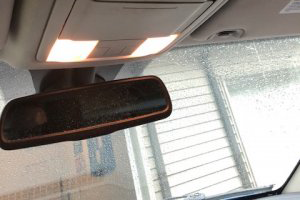
I’ll do a write below, but also for a fast 2-hour project, I feel it was a wonderful upgrade to having absolutely nothing in any way. I did not want to use the factory Ram option because it does not have sunglass holders, and in my humble opinion, I don’t like the appearance of the factory RAM overhead.
I determined to go for an overhead out of a 2014 Ford-150. The dimension was similar to that of the RAM and also it had 2 sunglass holders constructed in.
Here is the finished product. If you have any questions please feel free. The total cost of this project was less than $100.
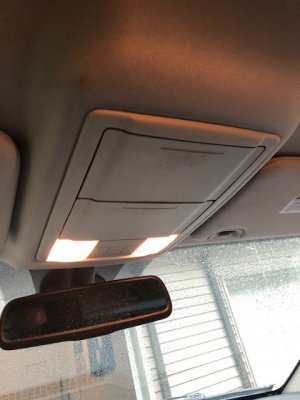
Step 1: I first had to measure the stock location to make the template.
Step 2: Using a T-Square I marked out 2 boxes, one that indicates the size of the Overhead location and One that indicates the size of the Console.
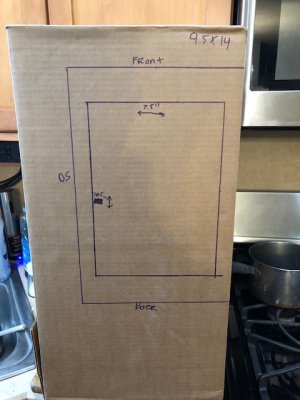
Step 3: Cut out the inner box, then test fit the console. I wanted to make sure there was a snug fit so that we did not trim too much and end up with a gap in the headliner.
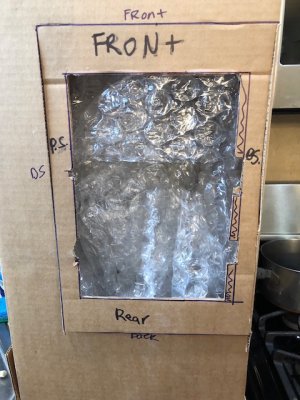
Test and fit.
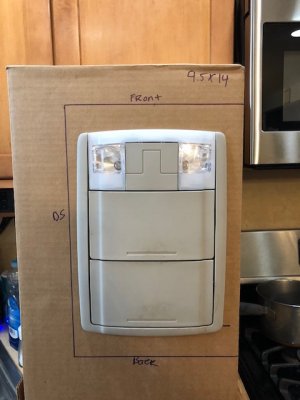
Step 5: Check for clearance. I had to adjust for the springs and gears that poke out just a touch wider. I made the adjustments quickly and moved on. (Sorry no good Photo’s).
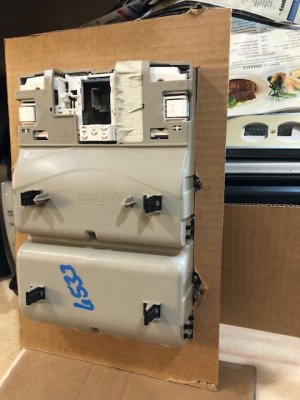
Step 6: Cut out the template and you’re off to prepare your headliner. I went ahead and taped the template to the headliner.
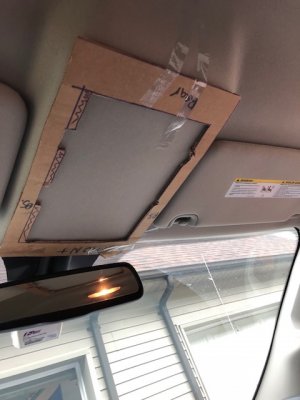
Step 7: Its time to cut into the headliner. I used a Dremel with a cutting wheel, made quick and clean cuts. Keep the dremel handy as you will need it in the next step.

Step 8: Remove the cut out, I ran my pocket knife down the fresh cuts to make sure there was no stragglers that would cause it to snag.
Step 9: Using an Allen Key and a 5/16 Socket remove both the Passenger side and Drivers side sun visors.
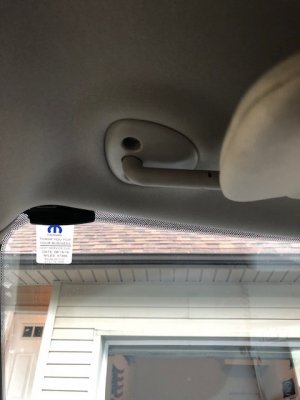
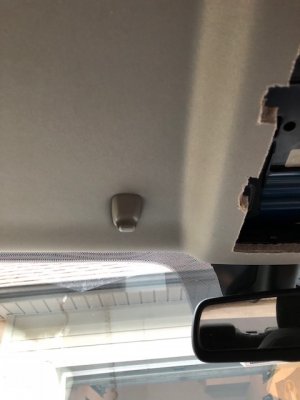
Step 10: Carefully pull your headliner down towards the dash and slide the interior bracket into place.
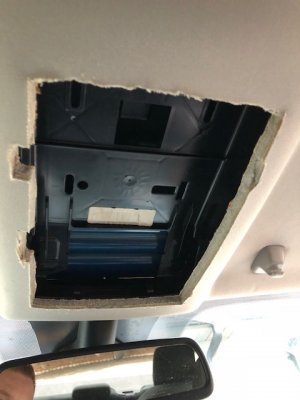
Step 11: Using the reverse of step 9, Reinstall the Visors.
Step 12: Using the bracket as a guide, Carefully use a Dremel with a grinding stone to remove the foam material.
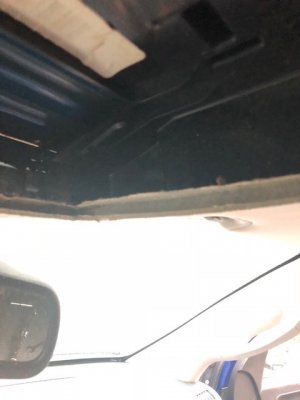
Step 13: Remove the center light by carefully prying down the “Glass” cover, then pulling down from the “Hinge” side.
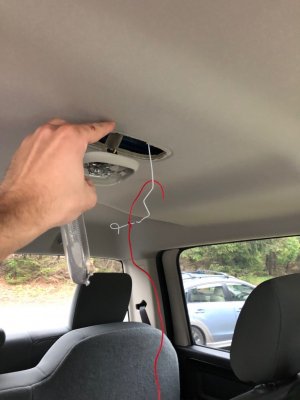
Step 14: using a coat hanger or wire running tape Run 2 Wires from the Dome light to the Overhead console. Please note wires should come through the front of the bracket (learned this the hard way)
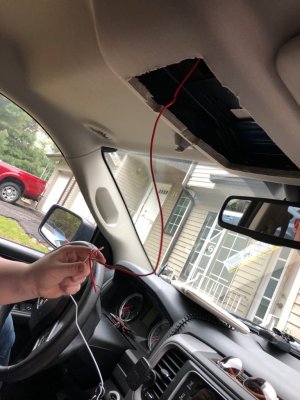
Note: You will need two wires (Ground/Hot) If you dont have two different color wires please be sure to mark one so they don’t get switched.
Step 15: Tap both the Hot (Yellow) and Ground (Black) wires and connect to the appropriate wires run to the front of the truck. (We used wire self taps to make this process quick and easy. Once done you can reinstall the Dome light.

Step 16: Run a Hot wire to the Overhead location. Since i have an Express there was only wires for the reverse camera, and no running “Hot” wire. I Ran the wire through the head liner, then pulled the doors weather striping back and ran it in the wire channel. Replace the weather stripping as you work your way down the channel to keep the wire from falling out. (Please note: I have a wire run off the battery for my light bar that i was able to tap into. You may want to use a fuse tap to complete this step)
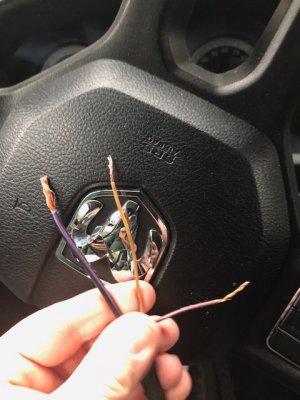
Step 17: The “Pig tail” which i asked for from the junkyard when i ordered my overhead contained roughly 7 wires. You For this process your only going to use 3. The Black/Purple is a larger gauge and is the Ground, The Yellow/Green is the always hot (used to turn the lights on when you click them) and the Brown/purple is the wire that connects to the Dome light to turn the lights on when the dome comes on.
Simply connect the ground, always hot and dome light leads. I used heat shrink over the connections and a crimp connector on the Ground to make sure they had a strong connection.
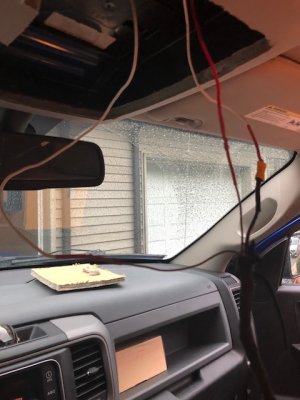
Step 18: Tuck the wires into the roof, and connect the wiring harness to the overhead. Test the light to make sure they come on by clicking them and when opening the doors. (Please be sure to bring the harness through the front of the bracket, we did this after this step which made it much more difficult.
Step 19: Click the console into the bracket. and your all done. time to sit back and admire your work.
