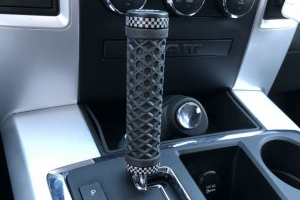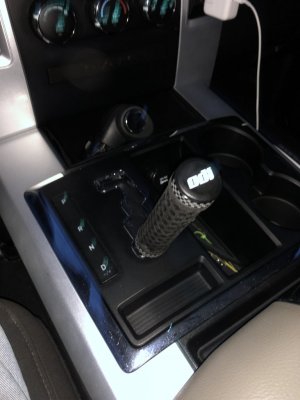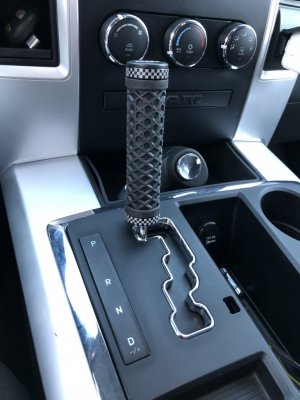
Homemade shift knob
I wanted to change the stock shifter because I didn’t like the looks or feel of it. We can find many replacement shifters on Google or Amazon, just choose one as you like.
My Parts:
- 7/8 solid aluminum rod
- 7/8 lock on grips
- M3x0.5x5mm
- M5x0.8x8mm
Tools you will use:
- 5/16 drill bit for the center bore
- No.39 drill bit for m3 set screw holes
- No.19 drill bit for m5 set screw holes
- M3x0.5 tap
- M5x0.8 tap
- 3 in 1 oil
- Sawzall
- Dremel
- Sandpaper
- Crappy drill press(don’t use it)
- Vise
- Drill
How I did it:
1.Put the grip on the aluminum rod and marked it where it needed to be cut.
2.cut the rod with the sawzall.
3. Cleaned the cut up with a Dremel and refined the edges with sandpaper.
4. Used the drill press to drill the 5/16 center hole. Didn’t work very well. Possibly a old drill press from harbor freight. My father found it at the flea market for cheap. Also, use 3in1 oil to lubricate drill bit.
5. Wrap the rod with a rag and place it in the vise vertically.
6. Finished drilling center hole. I went about 3 1/8 deep. Use more lube!
7. Cleaned the oil and shavings off and Placed the rod on the shift rod in the truck to see if the hole was straight. Nope…
8. Turn the aluminum rod until the leaning is front to back and not side to side.
9. Make a horizontal line across the top so you know where to drill the set screw holes so the rod aligns properly and doesn’t end up leaning to the side.
10. Place rag in vise then aluminum rod.
11. Draw a line down the center of the rod matching your top alignment mark.
12. Measure for your set screw holes. I placed one 1/4 from the bottom and another 2 1/2 from bottom. The lower one rest inside the notch where the oem locking taps used to sit to keep it from lifting off and the top set screw sits on the flat upper part to keep it from spinning.
13. Drill set screw holes using right size drill bit. Lubricants with 3in1 oil.
14. Get appropriate sized tap and use 3in1 oil to lubricate as well.
15. Run 5/16 drill bit back in the center hole to clean any burrs.
16. Assure set screws will fit. And run them in below the surface.
17. Take sandpaper and clean the burrs off from the tap.
18. Remove set screws and reassure smooth and propped function.
19. Place on factory shift rod and tighten set screws accordingly. Use loctite if needed.
20. Place grip on the rod and tighten down.
21. Admire work.
Before and after:


Note:
After using the m3x0.5x5mm I felt them to be way too small so I went to Lowe’s and picked up some m5x0.8x8mm. Redrilled the set screw holes and went to mount it. One side the set screws were too long(center hole wasn’t exactly centered), but one sides went in fine and didn’t protrude at all. The two m5 set screw held better than four of the m3 set screws, so I left the two that protruded out.(my plan was to Dremel them flush but didn’t feel the need to as the two on the opposing side held more than adequate.)
